6.1 PKI Lab
Task1: Becoming a root CA
After running the command
openssl req -x509 -newkey rsa:4096 -sha256 -days 3650 \
            -keyout ca.key -out ca.crt  \
            -subj "/CN=www.modelCA.com/O=Model CA LTD./C=US" \
            -passout pass:dees
It will generate the two files: ca.key and ca.crt
ca.keyfile contains theprivate keyof the CA and is used to sign certificates for individual servers and clients.ca.crtcontains thepublic certificateinformation of the CA, which include things like thepublic key,issuer,algorithmto generate the signature...
Inspecting the ca.crt file using openssl x509 -in ca.crt -text -noout we can answer the following questions
- What part of the certificate indicates this is a CA's certificate
- We can see from the
ca.crtthat there is a section namedX509v3 Basic Contstrins: criticaland follwing thatCA:TRUEindicating that this is a CA's certificate
- We can see from the
- What part of the certificate indicates this is a self-signed certificate?
- We can see from the
SubjectandIssuerfield of theca.crtthat they are bothCN = www.modelCA.com, O = Model CA LTD., C = US, which means that they are issued and meant for the same entity and hence this is aself-signedcertificate
- We can see from the
- In the RSA algorithm, we have a public exponent e, a private exponent d, a modulus n, and two secret numbers p and q, such that n = pq. Please identify the values for these elements in your certificate and key files.
- Public exponent
ecan be found in theca.crtfile, under a fieldSubject Public Key Info > Public Key Algorithm > Exponentwhich in this case is65537 - The modulus
ncan be found can be found in theca.crtfile, under a fieldSubject Public Key Info > Public Key Algorithm > Modulus - The private exponent
dcan be found in theca.keyfile under the fieldprivate Exponent - The two secret prime number
pandqcorrespond to the two fields in theca.keyfile, that isprime1andprime2
- Public exponent
Task 2: Generating a Certificate Request for Your Web Server
Before we can get a public key certificate from the CA, we need to generate a Certificate Signing Request(CSR) that includes the company's identity information for the CA to verify and generate the certificate
To generate a CSR, run the following command
openssl req -newkey rsa:2048 -sha256  \
            -keyout server.key   -out server.csr  \
            -subj "/CN=www.weihong2024.com/O=Bank32 Inc./C=US" \
            -passout pass:dees
You will get the follwing output:
Generating a RSA private key
...............+++++
...................................................+++++
writing new private key to 'server.key'
-----
To inspect the output file in plain text
openssl req -in server.csr -text -noout
openssl rsa -in server.key -text -noout
We can add Subject Alternative Name(SAN) to allow our certificate to have multiple names, to do that we modify the previous command to generate a CSR
openssl req -newkey rsa:2048 -sha256  \
            -keyout server.key   -out server.csr  \
            -subj "/CN=www.weihong2024.com/O=Bank32 Inc./C=US" \
            -passout pass:dees \
            -addext "subjectAltName=DNS:www.weihong2024.com, \
                                    DNS:www.weihong2024A.com, \
                                    DNS:www.weihong2024B.com"
We will get the same output from the above
Task 3 : Generating a Certificate for your server
After verifing the CSR file, the CA will proceed to generate the certificate using its own private key and CA cert generated in [Task 1] using the following command
openssl ca -config openssl.cnf -policy policy_anything \
           -md sha256 -days 3650 \
           -in server.csr -out server.crt -batch \
           -cert ca.crt -keyfile ca.key
We will have the following output
Using configuration from openssl.cnf
Enter pass phrase for ca.key:
Check that the request matches the signature
Signature ok
Certificate Details:
        Serial Number: 4660 (0x1234)
        Validity
            Not Before: Oct 13 14:24:10 2023 GMT
            Not After : Oct 10 14:24:10 2033 GMT
        Subject:
            countryName               = US
            organizationName          = Bank32 Inc.
            commonName                = www.weihong2024.com
        X509v3 extensions:
            X509v3 Basic Constraints:
                CA:FALSE
            Netscape Comment:
                OpenSSL Generated Certificate
            X509v3 Subject Key Identifier:
                8B:1C:C6:D0:E9:43:AC:5C:21:02:2B:7B:32:5B:20:2D:A6:D4:93:ED
            X509v3 Authority Key Identifier:
                keyid:ED:11:AC:CA:8C:DE:00:6D:B3:C6:C4:00:67:12:92:FE:41:C1:06:D4

Certificate is to be certified until Oct 10 14:24:10 2033 GMT (3650 days)

Write out database with 1 new entries
Data Base Updated
We can see that the newly generated certificate is meant for the www.weihong2024.com, but we can see that the alternative names that we added previously is not registered with the certificate. We will need to add copy_extensions=copy into our openssl.cnf file
We will need to delete the record of the previous certificate from the database since it is not what we wanted, to do that we can find the database in out openssl.conf file, and delete the relevant record. Note that this is not recommended in actuval practice, you should use the -revoke flag to revoke the certificate, do make a backup before you delete
You will get the following output
Using configuration from openssl.cnf
Enter pass phrase for ca.key:
Check that the request matches the signature
Signature ok
Certificate Details:
        Serial Number: 4661 (0x1235)
        Validity
            Not Before: Oct 13 14:42:24 2023 GMT
            Not After : Oct 10 14:42:24 2033 GMT
        Subject:
            countryName               = US
            organizationName          = Bank32 Inc.
            commonName                = www.weihong2024.com
        X509v3 extensions:
            X509v3 Basic Constraints:
                CA:FALSE
            Netscape Comment:
                OpenSSL Generated Certificate
            X509v3 Subject Key Identifier:
                8B:1C:C6:D0:E9:43:AC:5C:21:02:2B:7B:32:5B:20:2D:A6:D4:93:ED
            X509v3 Authority Key Identifier:
                keyid:ED:11:AC:CA:8C:DE:00:6D:B3:C6:C4:00:67:12:92:FE:41:C1:06:D4

            X509v3 Subject Alternative Name:
                DNS:www.weihong2024.com, DNS:www.weihong2024A.com, DNS:www.weihong2024B.com
Certificate is to be certified until Oct 10 14:42:24 2033 GMT (3650 days)

Write out database with 1 new entries
Data Base Updated
Now from the new output, we can see that the SANs that we specified earlier is applied
We can inspect the content of the certificate using
openssl x509 -in server.crt -text -noout
Under Issuer we can see that the certificate is issued by the Model CA and its meant for www.weihong2024.com
Task 4 Deploying Certificate in a Apache-Based HTTPS Website
Now go into the container using docksh <container-id> and navigate to /etc/apache2/sites-available you should see a bank32_apache_ssl.conf with the necessary settings
On our own machine, we will need to move the server.key and server.crt that we generated previously into the volumes folder for the docker container to access
we will create a new file call weihong2024_apache_ssl.conf in the volums folder with the following content
<VirtualHost *:443>
    DocumentRoot /var/www/bank32
    ServerName www.weihong2024.com
    ServerAlias www.weihong2024A.com
    ServerAlias www.weihong2024B.com
DirectoryIndex index.html
SSLEngine On
SSLCertificateFile /volumes/server.crt
SSLCertificateKeyFile /volumes/server.key
</VirtualHost>
We can use the same DocumentRoot, which contains the content of the website, since we are not interested in the content that is being displayed but the ssl
We can the ServerName and ServerAlias to the ones that we have set previously for our certificate
we now point the SSLCertificateKeyFile to /volums/server.key file since it is where the share folder for docker and host machine and where the server key file lives (you can move it to elsewhere)
we now point the SSLCertificateFile to /volums/server.crt file
Symlink
For apache to run our site, we need to symlink it to the sites-available folder Using
ln -s /volums/weihong2024_apache_ssl.conf /etc/apache2/sites-available/weihong2024_apache_ssl.conf
Starting the server
Now We can enable apache's ssl modeule by a2enmod ssl
We will get the follwing output
root@weihong-1005610:/# a2enmod ssl
Considering dependency setenvif for ssl:
Module setenvif already enabled
Considering dependency mime for ssl:
Module mime already enabled
Considering dependency socache_shmcb for ssl:
Module socache_shmcb already enabled
Module ssl already enabled
We can now enable the site using a2ensite bank32_apache_ssl
root@weihong-1005610:/volumes# a2ensite weihong2024_apache_ssl
Site weihong2024_apache_ssl already enabled
We can start the server using service apache2 start
root@weihong-1005610:/volumes# service apache2 start
 * Starting Apache httpd web server apache2                                                                                                                                            Enter passphrase for SSL/TLS keys for www.weihong2024.com:443 (RSA):
 *
Browsing the website
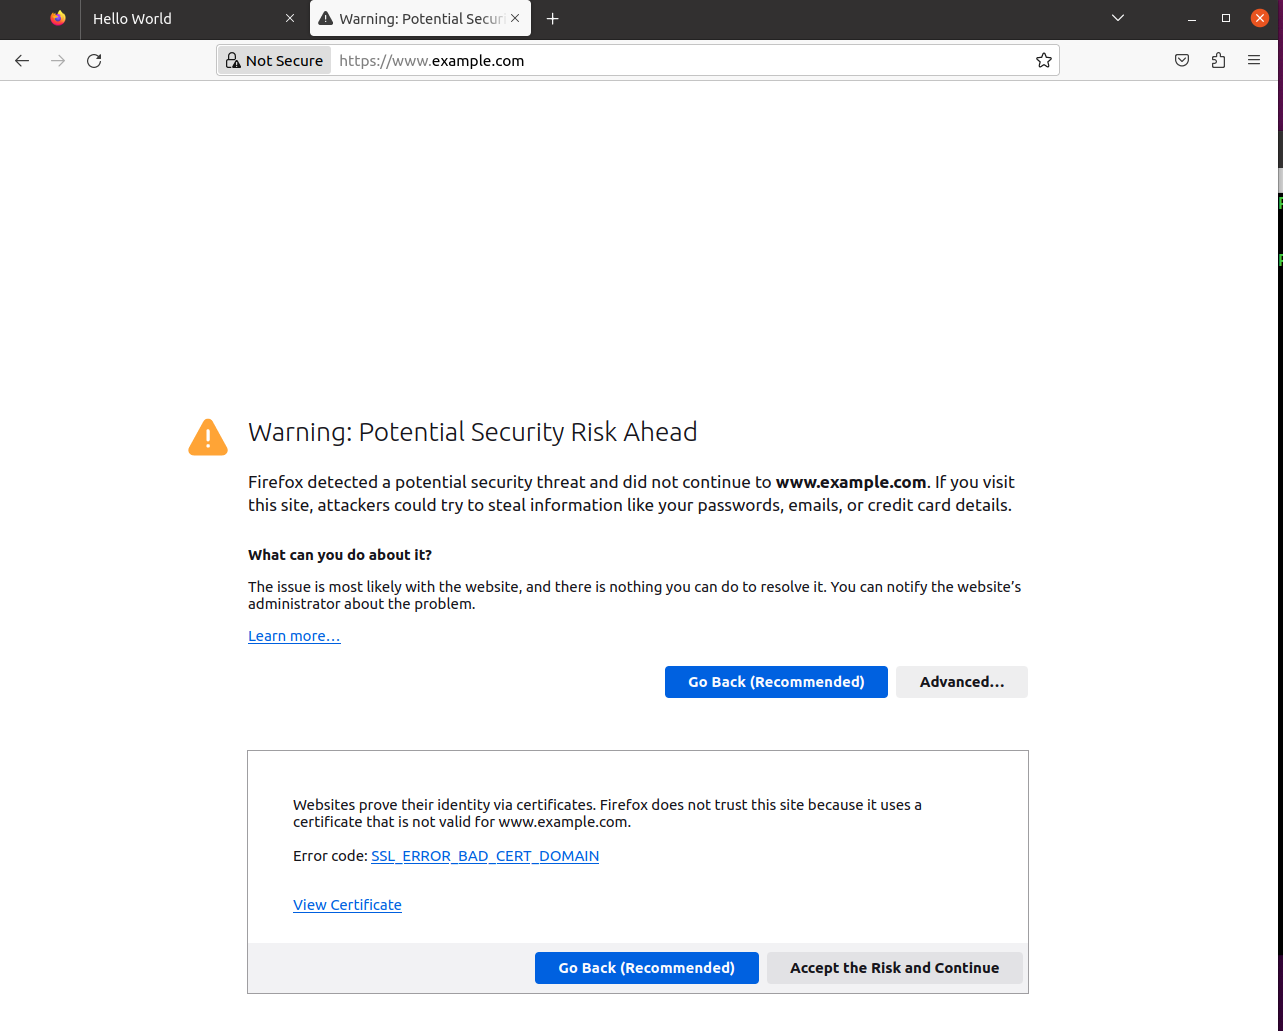
On first attempt we are warned that this site is not secured and we might be under a man in the middle attack
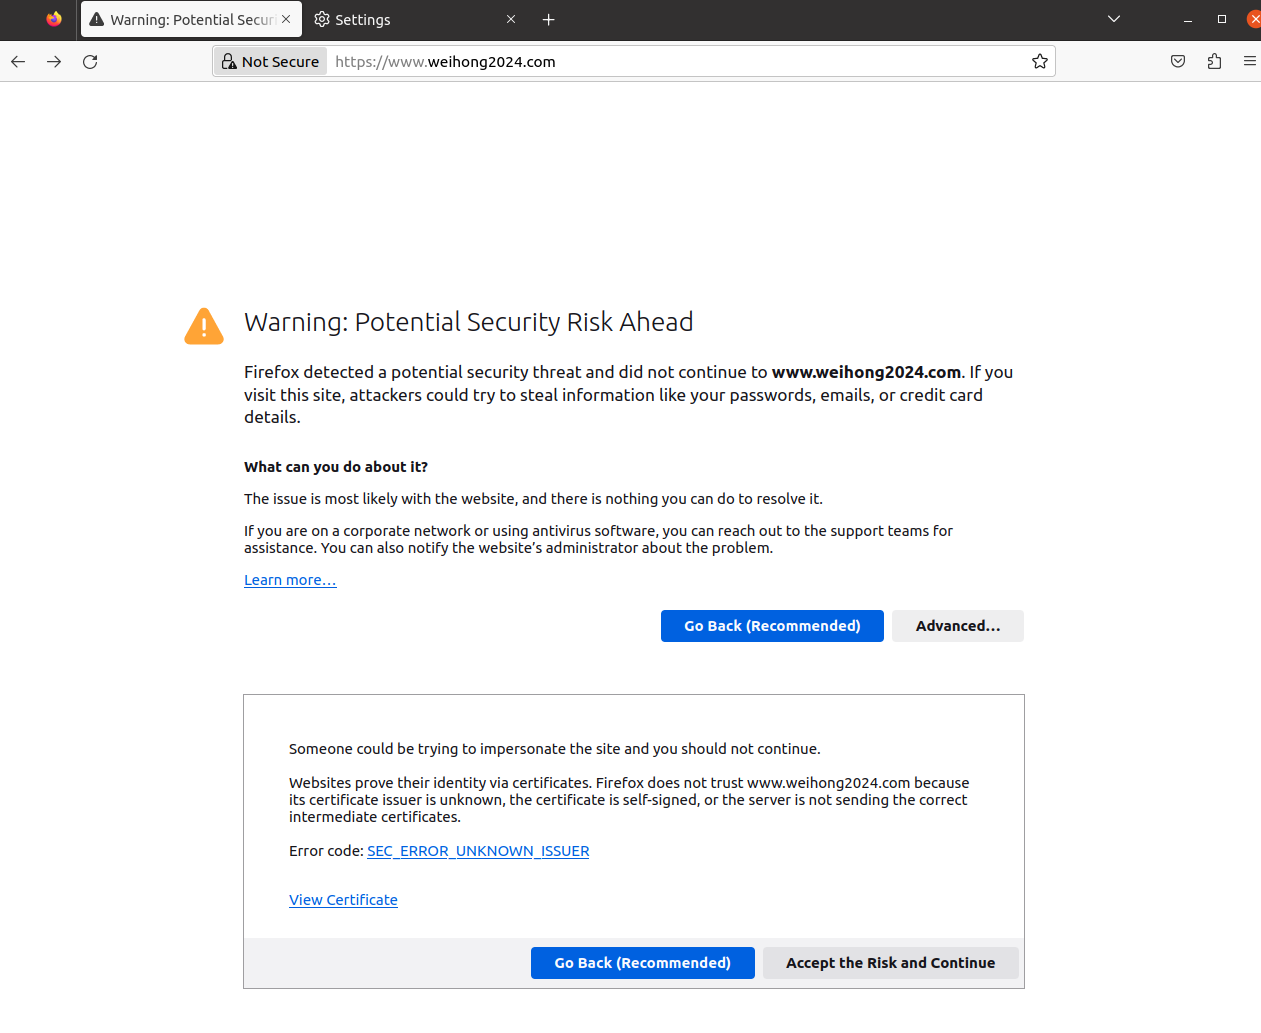
From the screenshot, we can tell that the error is coming from the browser not trusting the issuer of the cert, because it is self signed by our Model CA, since we know that this CA is trustable, we can add the public key of the CA to the broser so that the browser know that this is a trustable CA and hence allow us to access the sites that are behind the certificate that is signed by this CA
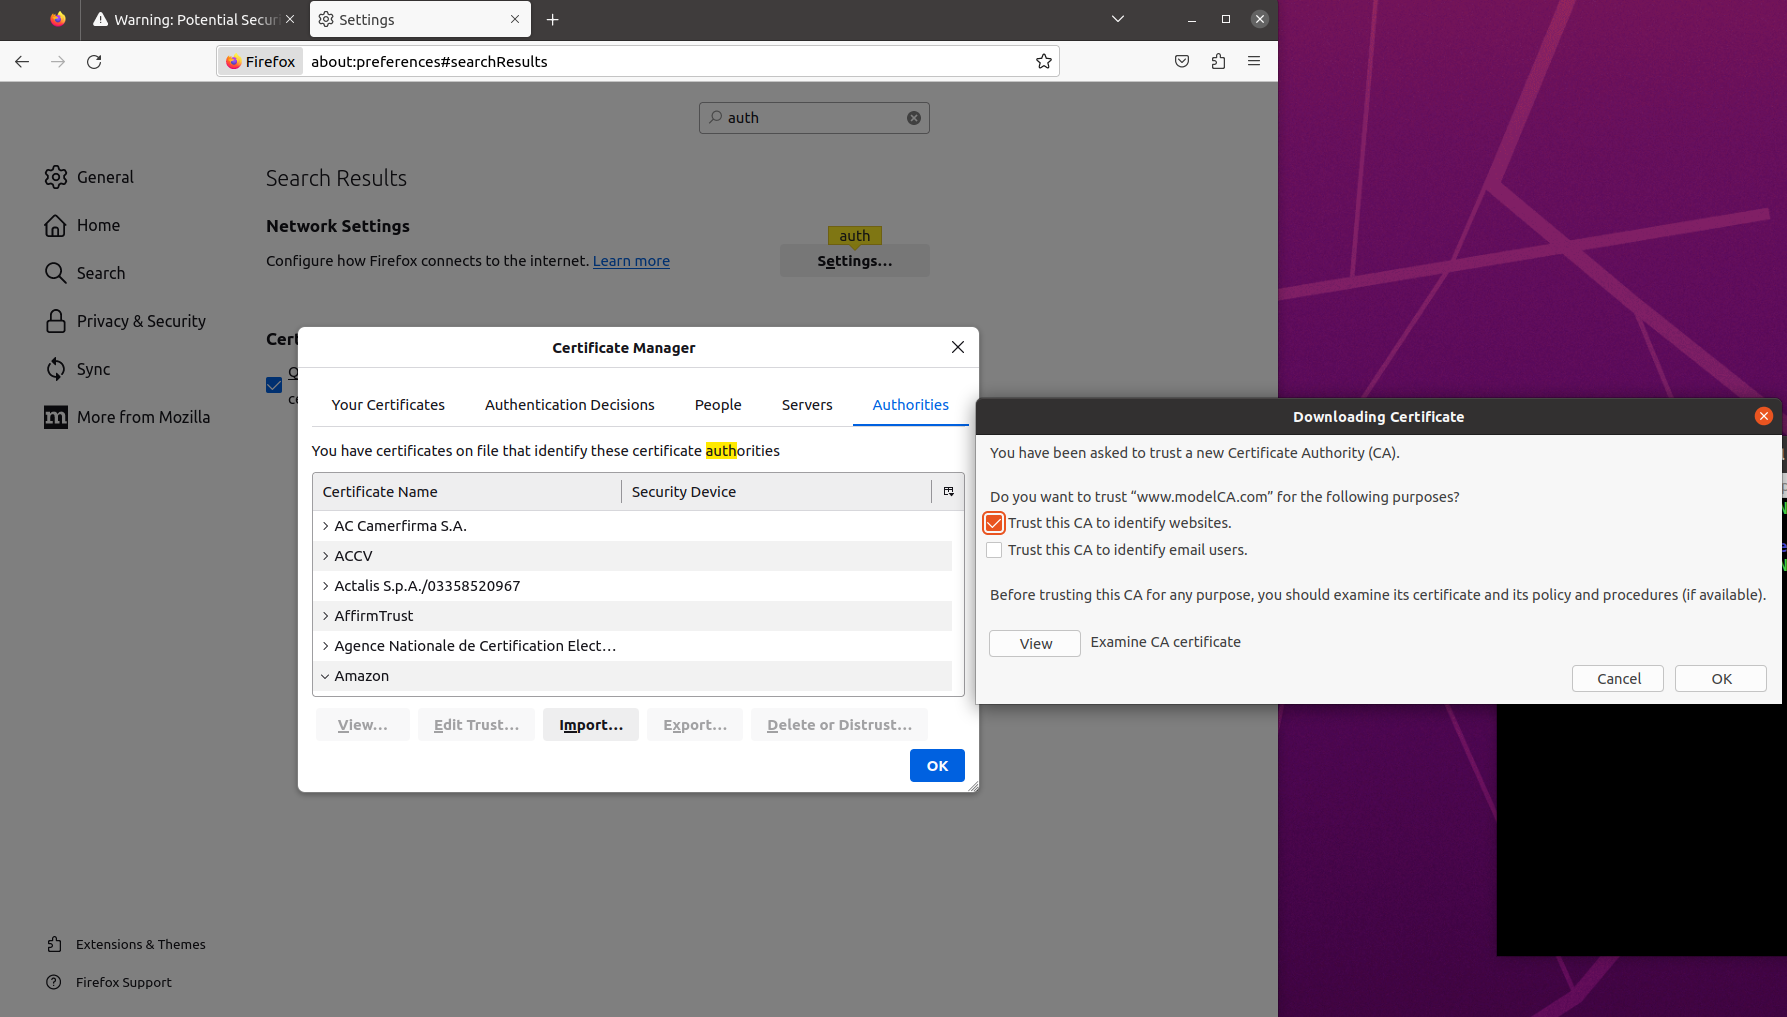
Adding the CA's cert to the browser
We first need to find the browser preference, and search for authorities and import the ca.crt file and tick the option Trust this CA to identify websites
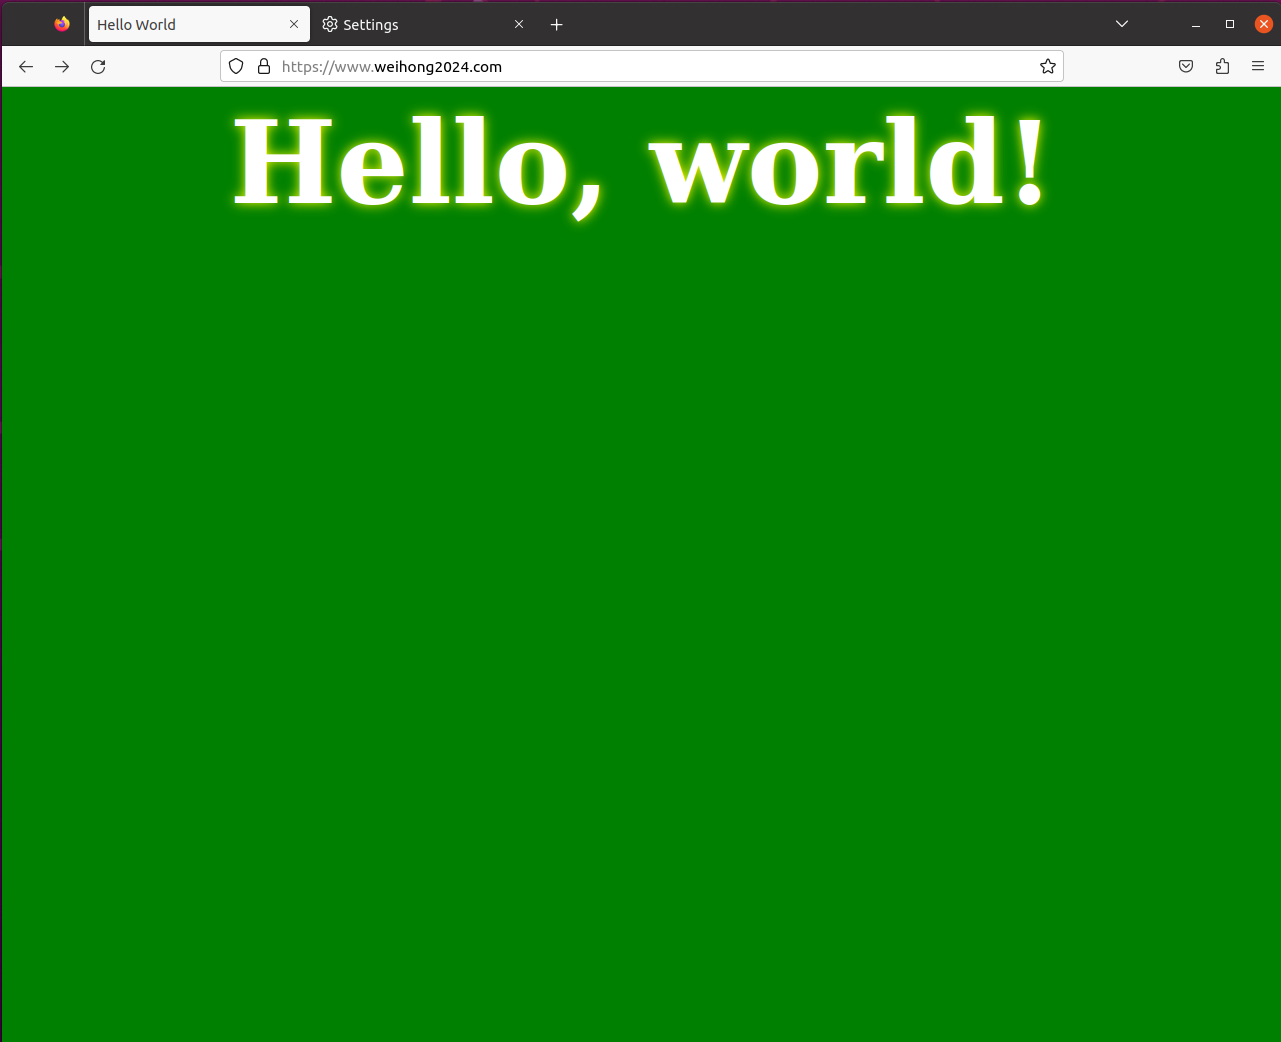
Visit again
Reload www.weihong2024.com we are able to access the website using https which means our certificate is working
Task 5: Launching Man in the Middle attack
Setting up malicious website
Duplicate the weihong2024_apache_ssl.conf file and name it example_apache_ssl.conf and change the ServerName to www.example.com
Output
root@weihong-1005610:/# cat /etc/apache2/sites-available/example_apache_ssl.conf
<VirtualHost *:443>
    DocumentRoot /var/www/bank32
    ServerName www.example.com
    ServerAlias www.weihong2024A.com
    ServerAlias www.weihong2024B.com
DirectoryIndex index.html
SSLEngine On
SSLCertificateFile /volumes/server.crt
SSLCertificateKeyFile /volumes/server.key
</VirtualHost>
Enable the site
a2ensite example_apache_ssl
Reload the apache2
service apache2 restart
Adding the DNS
Adding the dns record for www.example.com to /etc/hosts on the host machine
10.9.0.80 www.example.com
Browse the target website
We can see from the screenshot that the Secure Connection failed, This is because the certificate that we put in the example_apache_ssl file is meant for the common name www.weihong2024.com which does not match the website that we are visiting which is www.example.com
Task 6 Launching MITM with a compromised CA
Since the CA is compromised, we can use the CA's certificate to sign a verified certificate that is recognised by the browser
Signing a new certificate
We will use the CA's certificate and private key to sign a new certificate for www.example.com
We will repeat Task 2-4
Creating CSR
openssl req -newkey rsa:2048 -sha256  \
            -keyout example.key   -out example.csr  \
            -subj "/CN=www.example.com/O=Bank32 Inc./C=US" \
            -passout pass:dees \
            -addext "subjectAltName=DNS:www.example.com, \
                                    DNS:www.exampleA.com, \
                                    DNS:www.exampleB.com"
Generate a certificate
Since the CA's certificate is compromised, we can sign a example.crt using the CA's certificates
openssl ca -config openssl.cnf -policy policy_anything \
           -md sha256 -days 3650 \
           -in example.csr -out example.crt -batch \
           -cert ca.crt -keyfile ca.key
Move the exmaple.crt and the example.key into the volumes folder to be able to access in the container
Modify the ssl conf
modify the example_apache_ssl.conf, change the SSLCertificateKeyFile and SSLCertificateFile into the path to the newly generated example.key and exmaple.crt
root@weihong-1005610:/# cat /etc/apache2/sites-available/example_apache_ssl.conf
<VirtualHost *:443>
    DocumentRoot /var/www/bank32
    ServerName www.example.com
    ServerAlias www.exampleA.com
    ServerAlias www.exampleB.com
DirectoryIndex index.html
SSLEngine On
SSLCertificateFile /volumes/example.crt
SSLCertificateKeyFile /volumes/example.key
</VirtualHost>
Reload and start the apache server
service apache2 reload
service apache2 start
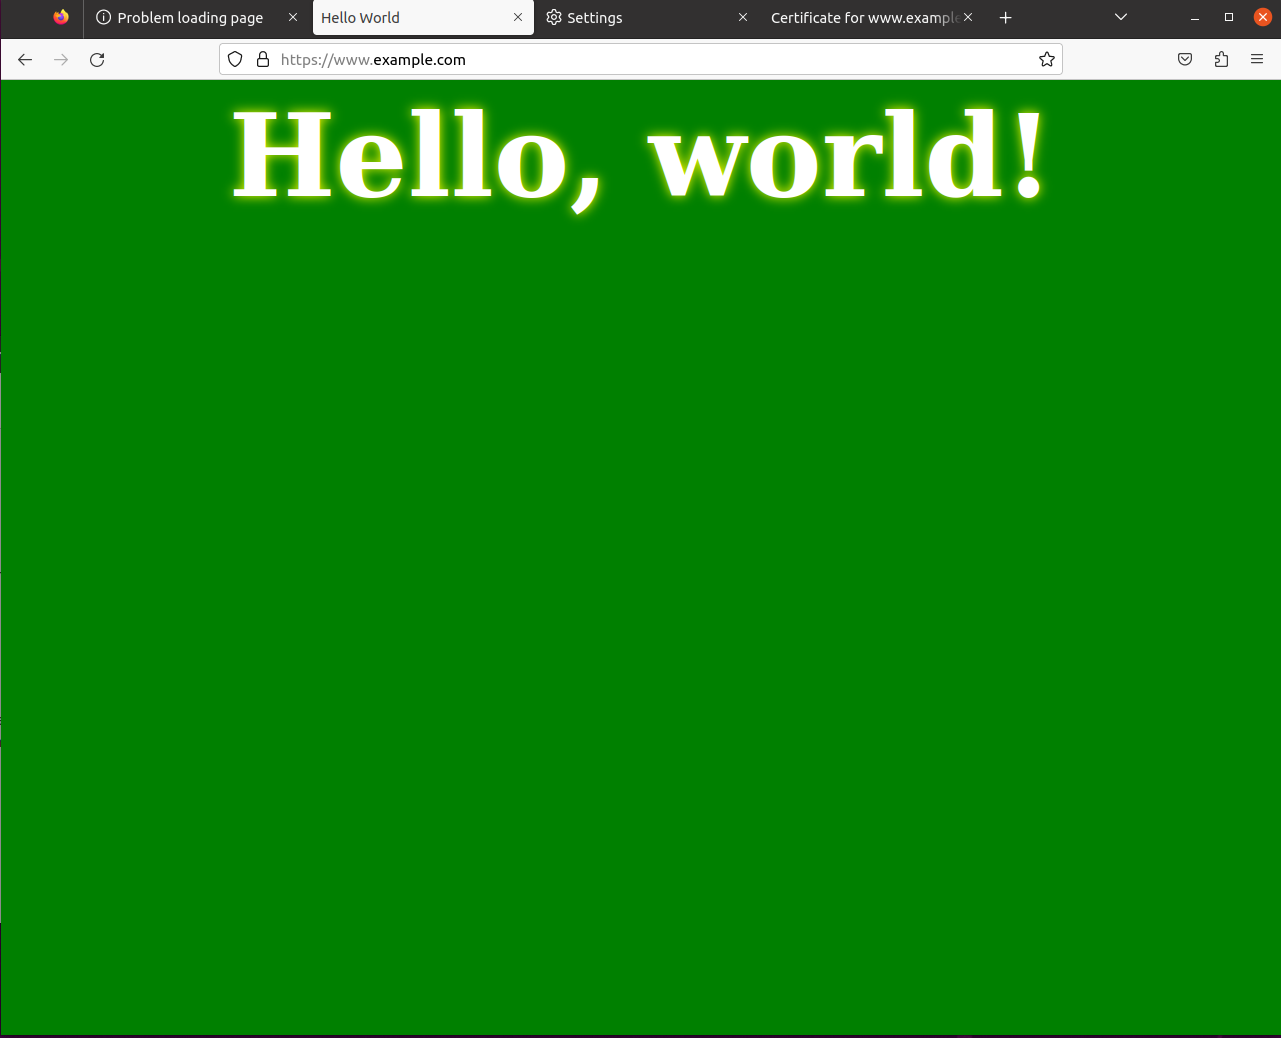
Browsing the site
Visit www.example.com and we will see the following, which means the attack is suceessful